4th of July Star Bunting
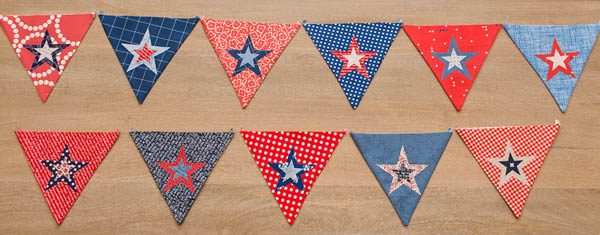
Get ready for the 4th of July early with this patriotic Star Bunting! It's the perfect summer project.
Star Bunting Tutorial
Pattern by Faith Jones, Fresh Lemons Quilts
Finished Length: 9 feet, 11 triangles
Fabric Requirements:
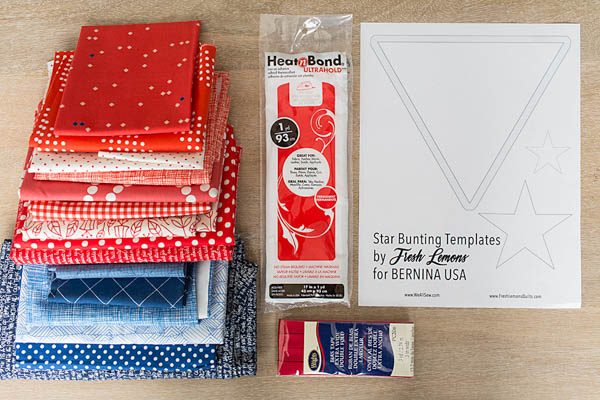
A scrappy mix of about 15 red, white and blue fabrics. You can use fabrics from your stash, scrap bucket, or even a layer cake.
For the Triangles:
- 22 fabric pieces, at least 8″ x 9″
For the Stars:
- 11 fabric pieces, at least 4″ x 4″
- 11 fabric pieces, at least 2″ x 2″
Additional Supplies:
- StarBuntingTemplate, Printed at 100% or Actual Size
- 3 yards of 1/2″ wide double fold bias tape—purchase or make your own
- Thermoweb Heat ‘n Bond Ultra Hold Iron-On Adhesive
- Pen
- Scissors
- Turning Tool (optional)
- Rotary cutting, quilting ruler, quilting mat (optional)
- Sewing Machine
Instructions:
- Cut the triangle and two stars from the Star Bunting Template.
From Triangle Fabric Pieces:
- Using the triangle from the template, cut out (22) triangles from your fabric. For my bunting, the front and back of each triangle bunting segment is the same fabric. I cut 2 triangles from 11 fabrics.
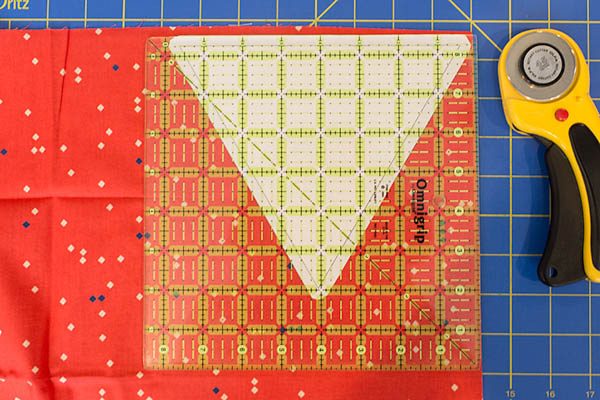
You can trace the template onto the fabric and cut out using fabric scissors, or optionally, use a quilting ruler and rotary cutter.
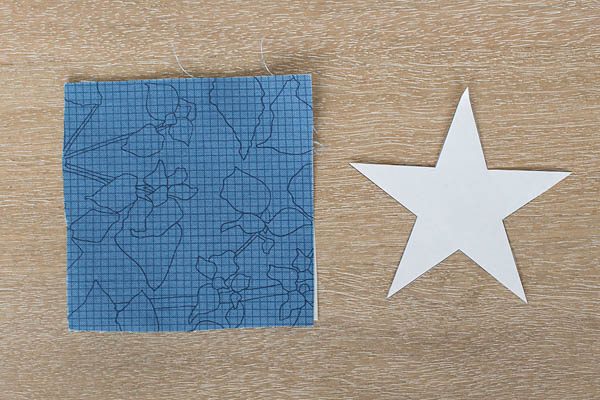
From Star Fabric Pieces:
- Select your 4″ x 4″ fabric pieces for 11 large stars and 2″ x 2″ fabric pieces for 11 small stars. Following the manufacturer’s directions, apply the Heat ‘n Bond Ultra adhesive to the back of the fabrics.
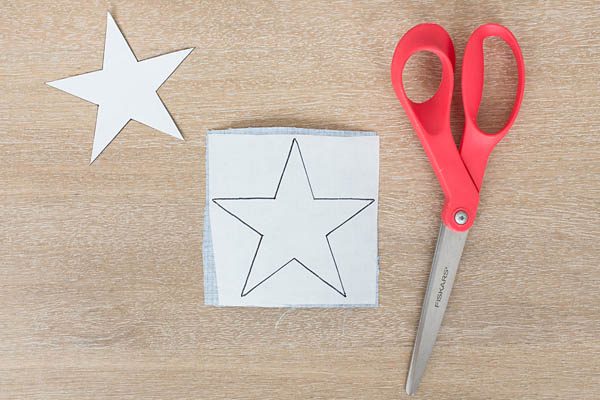
- Trace the star templates onto the adhesive paper back on the back of the star fabric pieces.
- Cut out the stars.
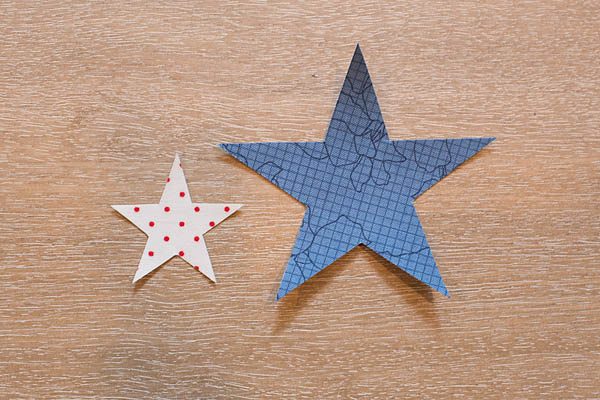
- Mix and match your fabrics and create (11) sets 2 bunting triangles, 1 large star and 1 small star.
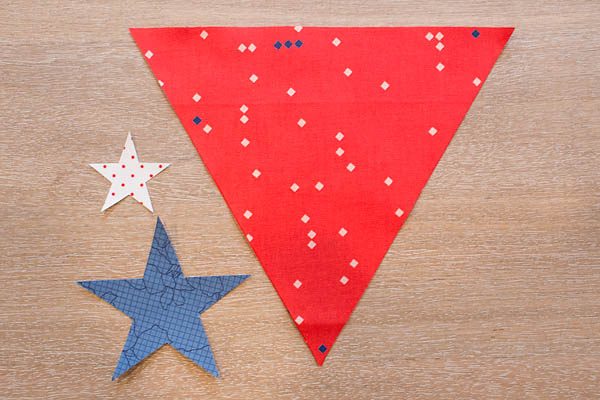
- Select two fabric triangles. Place the wrong sides together. Stitch down 2 of the sides, 1/4″ away from the edge of the fabric. Leave the top open.
I chose to stitch all the way down on one side, and then all the way down on the second side, creating an “X” at the bottom point. If you would rather stitch your first side and stop 1/4″ away from the bottom point, pivot, and then stitch 1/4″ back up the second side, you may do that as well.
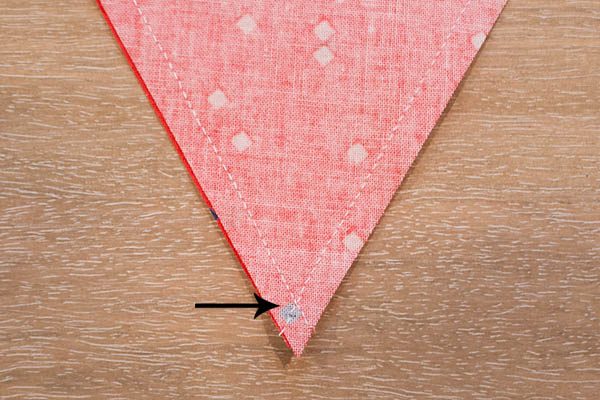
- Clip the point, just below where your seams cross or pivot.
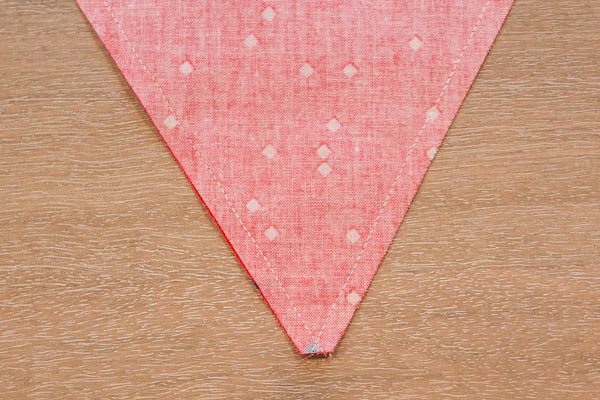
- Flip your triangles right side out through the top, unstitched opening. You may find it helpful to use a pencil or small stick to push out the bottom-stitched point.
- Select your large star. Peel off the paper Heat ‘n Bond backing. Place the star on the triangle bunting, at least 3/4″ below the top of the triangle to allow for the bias tape later. I placed my stars with their bottom points about 1/8″ away from the lower sides of the triangle.
Select your small star. Peel off the paper Heat ‘n Bond backing. Place the smaller star centered on top of the larger star.

Following the Heat ‘n Bond Ultra manufacturer’s directions, adhere the stars to the triangle.
- Repeat steps 7-10 to create an additional 10 triangle/star components for a total of 11 segments.
- Remove your bias tape from it’s packaging. Fold in half and mark the midway point.
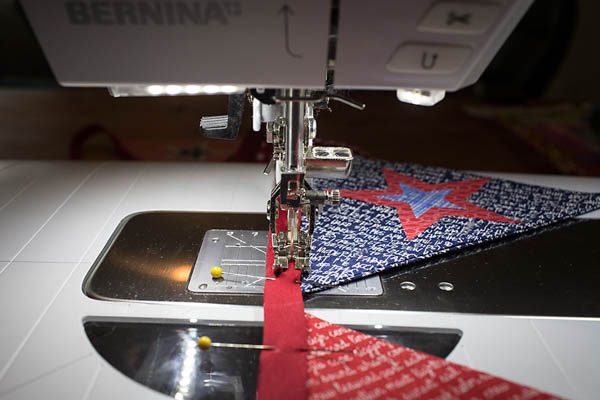
- Select a finished bunting triangle. Open your bias tape, place the bunting triangle inside, centered at the bias tape midpoint, and fold closed. Pin into place.
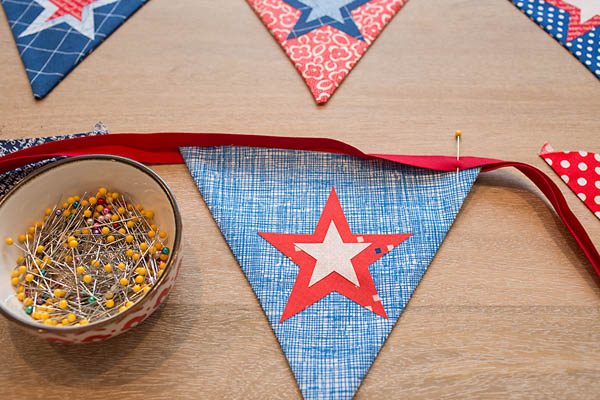
I used three pins per bunting triangle.
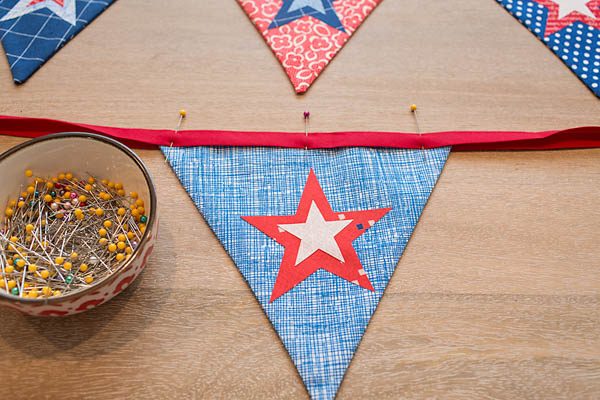
- Working your way to the right and left of the center bunting segment, pin the remaining 10 bunting segments into place.
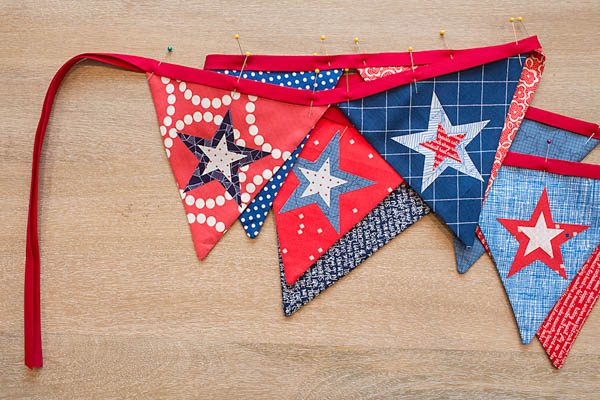
You will be left with a bit of bias tape at each end of your bunting, which will allow you to tie it to posts and railings.
- Using a straight stitch, stitch the bias tape closed, 1/8” away from the side that opens. Backstitch to secure the beginning and end of the bunting.
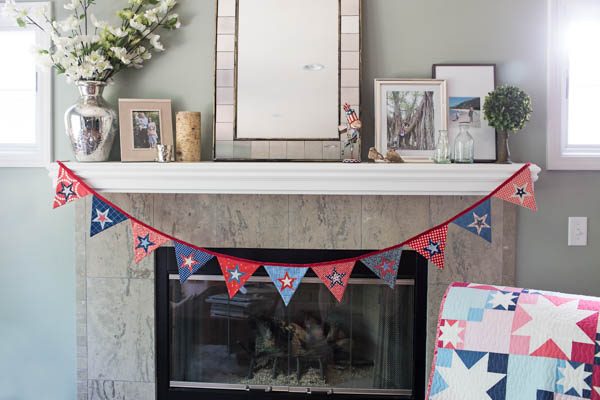
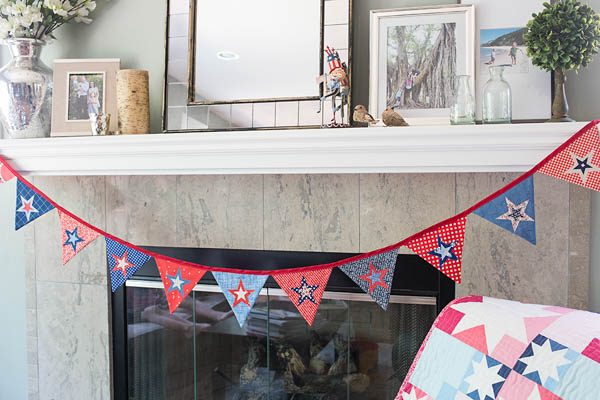
Hang your Star Bunting and enjoy!
-
Join Our Holiday Sew Along: Create Quick and Festive Gifts with Aurora Sewing Center!
There’s no better way to get into the holiday spirit than by sewing unique, heartfelt gifts and decorations. Aurora Sewing...
Read More -
Stitch Up Some Seasonal Magic: Gift Ideas for Sewists & Quilters
The holiday season is just around the corner, and you know what that means—exciting Black Friday and Cyber Monday deals...
Read More -
What could possibly be new with the latest Sewing Machines?
Are you wondering what could possibly be NEW from the top sewing machine manufacturers? Well, 2024 and 2025 are shaping...
Read More -
Tips on using a Ruffler Foot Attachment
Have you ever used a Ruffler before? At a glance, the Ruffler Attachment can look a bit scary, however once...
Read More -
Threads of Compassion: Raising Funds to Stitch Together Community Support
Aurora Sewing Center’s 38th Annual Banquet at marked another year of celebration and giving back to the community. Held each...
Read More -
2024 Aurora Sewing Center's Annual TENT SALE! (Williamsville store location) Jun 6th -8th
You don't want to miss our Annual TENT SALE at our Williamsville store location! We've MOVED the sale to our Back...
Read More -
Is it time to get your sewing machine SERVICED?
Is it time to get your sewing machine serviced? Have you been sewing a fair bit getting those projects done? ...
Read More -
2023 Customer Appreciation Days
Calling all sewing enthusiasts! Clear your schedules for September 14-16 because Aurora Sewing Center's much-anticipated Annual Customer Appreciation Days are...
Read More -
Expanding Our Product Offering
Aurora Sewing Center is proud to announce an exciting expansion of our sewing machine offering. We are thrilled to introduce...
Read More -
Sew Outside and Enjoy the Outdoors!
Here is New York, nice warm weather can be limited to four months or so. Most of us try to...
Read More -
2023 Club Banquet ... A Night of Generosity and Thanks
What is the Aurora Sewing Center CLUB? There are actually three different Clubs (Sewing Club, Embroidery Club and Serger Club). ...
Read More -
2023 Shop Hop
Join Aurora Sewing Center and many other local quilt shops for "The Great NY Shop Hop 2023"! The Shop Hop runs from June...
Read More -
Victor GRAND OPENING WEEK Schedule
Aurora Sewing Center, is sew excited to be celebrating the Grand Opening throughout the week of May 1st, 2023...
Read More -
Pop-in Demo Day during our Victor GRAND OPENING!
Join us in Victor on Wednesday, May 3rd from 11AM - 4PM for a Pop-in Demo Day! Kimberbell Embroidery...
Read More -
What to Think About When it Comes to Sergers!
April is NATIONAL SERGER MONTH, and sergers have come a long way with their ease of threading and use. There...
Read More -
Clever Quilting Event with BERNINA
THREE SESSIONS AVAILABLE: MAY 5TH, 9:30AM - 1PM: REGISTER HERE MAY 5TH, 2PM - 5:30PM: REGISTER HERE MAY 6TH, 10AM...
Read More -
Quilting Thread Types & Differences
Sewing and quilting is an art form that requires attention to detail, the right equipment, and right sewing supplies. When...
Read More -
Curvy Coasters Tutorial
Curves are generally seen as a more advanced technique when it comes to quilt piecing. Quilts based on a Drunkard’s...
Read More -
In-Store Home Show SALES!
We won't be in our usual spot at the Buffalo Home Show this year BUT GOOD NEWS! We are still...
Read More -
New Paper Piecing Classes with Eileen
Eileen is a paper piecing EXPERT! Are you interested in learning more about paper piecing and advancing your skills?...
Read More -
5 Tips for a Smooth Start to Sewing
How can I prevent the fabric from being pulled into the bobbin case area when I start sewing? Especially when...
Read More
1 2 3 Older articles »

