4th of July Star Bunting
Get ready for the 4th of July early with this patriotic Star Bunting! It's the perfect summer project.
Star Bunting Tutorial
Pattern by Faith Jones, Fresh Lemons Quilts
Finished Length: 9 feet, 11 triangles
Fabric Requirements:
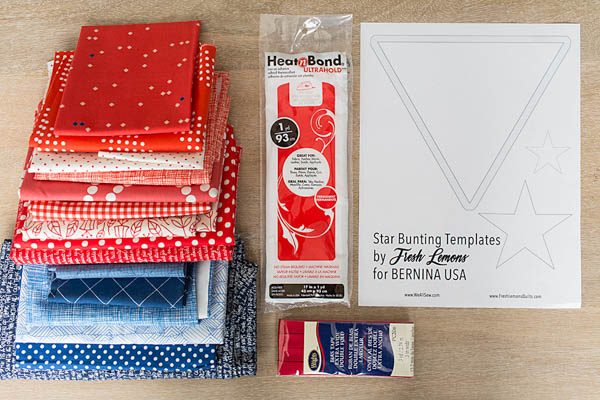
A scrappy mix of about 15 red, white and blue fabrics. You can use fabrics from your stash, scrap bucket, or even a layer cake.
For the Triangles:
- 22 fabric pieces, at least 8″ x 9″
For the Stars:
- 11 fabric pieces, at least 4″ x 4″
- 11 fabric pieces, at least 2″ x 2″
Additional Supplies:
- StarBuntingTemplate, Printed at 100% or Actual Size
- 3 yards of 1/2″ wide double fold bias tape—purchase or make your own
- Thermoweb Heat ‘n Bond Ultra Hold Iron-On Adhesive
- Pen
- Scissors
- Turning Tool (optional)
- Rotary cutting, quilting ruler, quilting mat (optional)
- Sewing Machine
Instructions:
- Cut the triangle and two stars from the Star Bunting Template.
From Triangle Fabric Pieces:
- Using the triangle from the template, cut out (22) triangles from your fabric. For my bunting, the front and back of each triangle bunting segment is the same fabric. I cut 2 triangles from 11 fabrics.
You can trace the template onto the fabric and cut out using fabric scissors, or optionally, use a quilting ruler and rotary cutter.
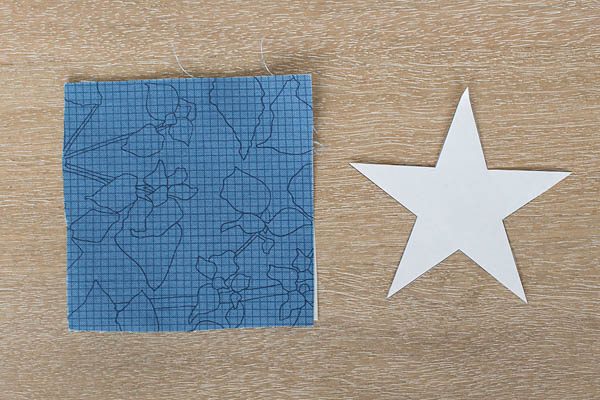
From Star Fabric Pieces:
- Select your 4″ x 4″ fabric pieces for 11 large stars and 2″ x 2″ fabric pieces for 11 small stars. Following the manufacturer’s directions, apply the Heat ‘n Bond Ultra adhesive to the back of the fabrics.
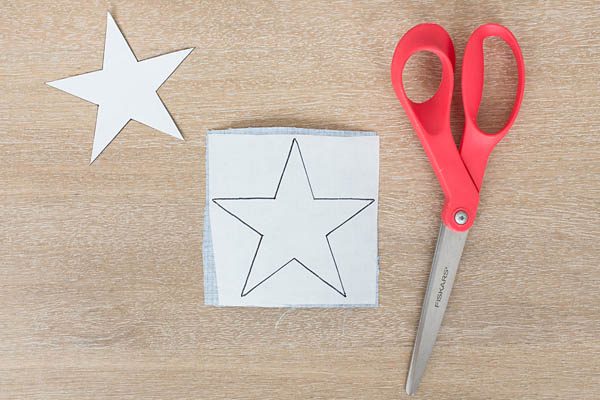
- Trace the star templates onto the adhesive paper back on the back of the star fabric pieces.
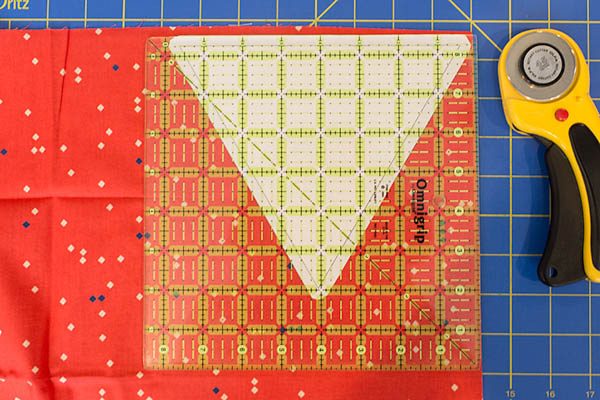
- Cut out the stars.
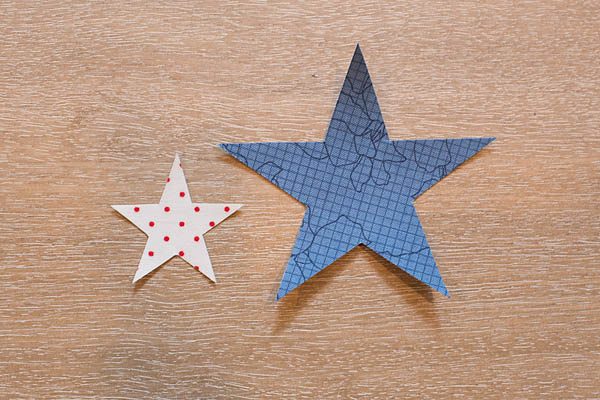
- Mix and match your fabrics and create (11) sets 2 bunting triangles, 1 large star and 1 small star.
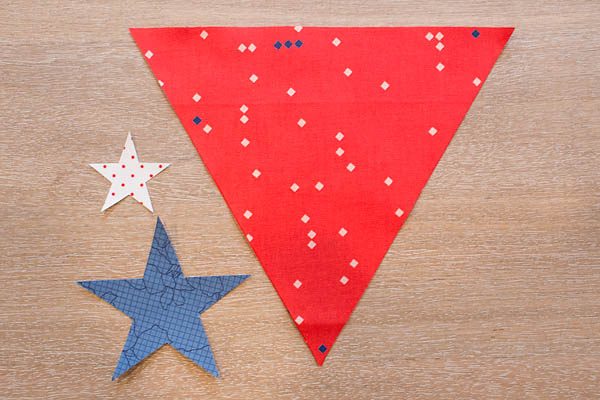
- Select two fabric triangles. Place the wrong sides together. Stitch down 2 of the sides, 1/4″ away from the edge of the fabric. Leave the top open.
I chose to stitch all the way down on one side, and then all the way down on the second side, creating an “X” at the bottom point. If you would rather stitch your first side and stop 1/4″ away from the bottom point, pivot, and then stitch 1/4″ back up the second side, you may do that as well.
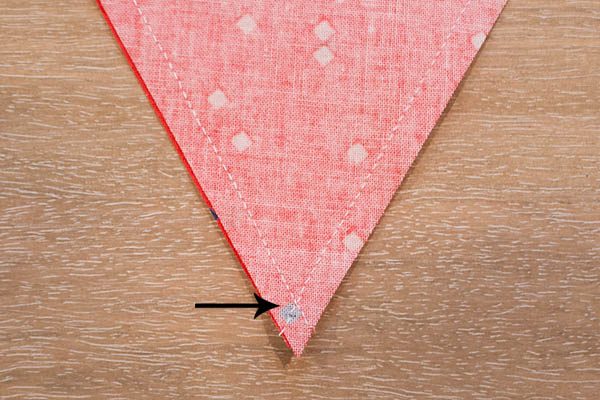
- Clip the point, just below where your seams cross or pivot.
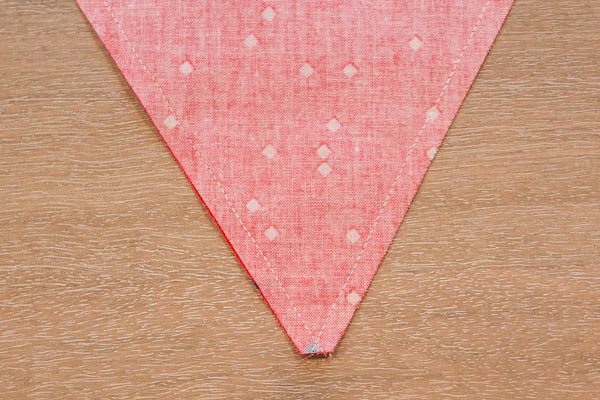
- Flip your triangles right side out through the top, unstitched opening. You may find it helpful to use a pencil or small stick to push out the bottom-stitched point.
- Select your large star. Peel off the paper Heat ‘n Bond backing. Place the star on the triangle bunting, at least 3/4″ below the top of the triangle to allow for the bias tape later. I placed my stars with their bottom points about 1/8″ away from the lower sides of the triangle.
Select your small star. Peel off the paper Heat ‘n Bond backing. Place the smaller star centered on top of the larger star.

Following the Heat ‘n Bond Ultra manufacturer’s directions, adhere the stars to the triangle.
- Repeat steps 7-10 to create an additional 10 triangle/star components for a total of 11 segments.
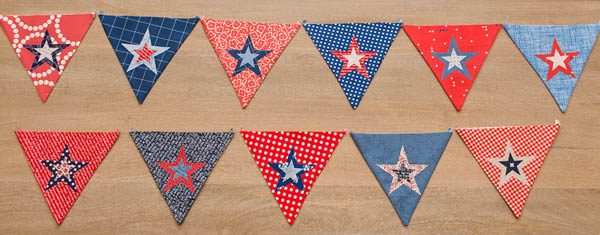
- Remove your bias tape from it’s packaging. Fold in half and mark the midway point.
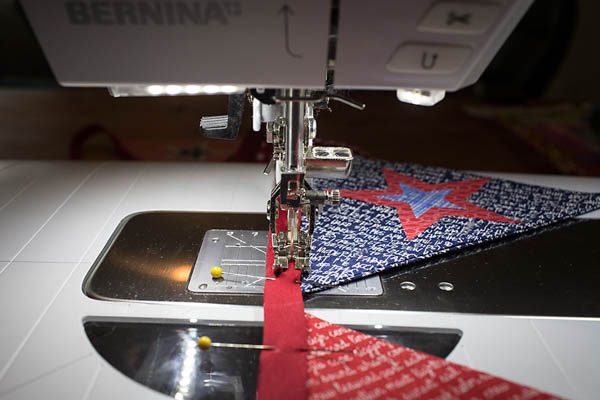
- Select a finished bunting triangle. Open your bias tape, place the bunting triangle inside, centered at the bias tape midpoint, and fold closed. Pin into place.
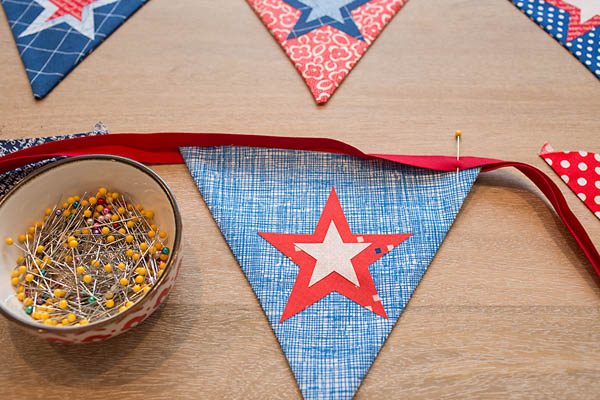
I used three pins per bunting triangle.
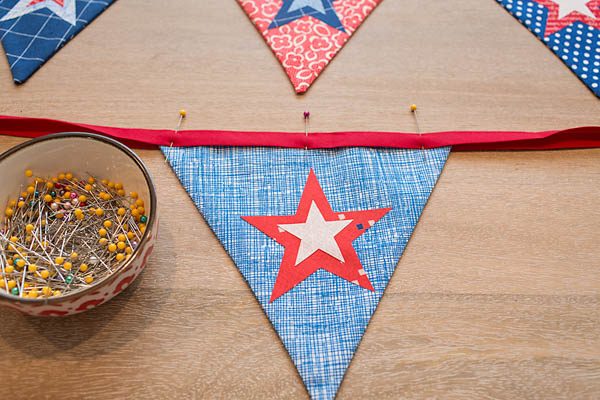
- Working your way to the right and left of the center bunting segment, pin the remaining 10 bunting segments into place.
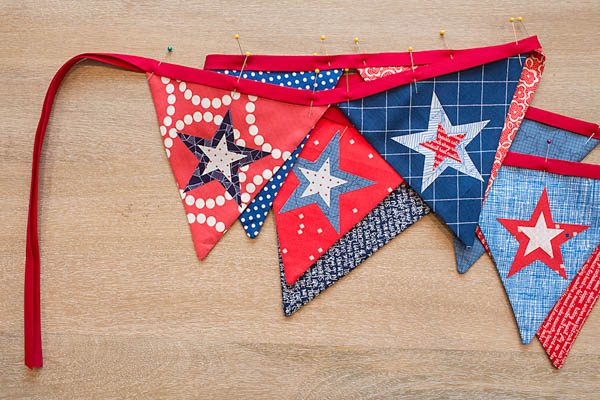
You will be left with a bit of bias tape at each end of your bunting, which will allow you to tie it to posts and railings.
- Using a straight stitch, stitch the bias tape closed, 1/8” away from the side that opens. Backstitch to secure the beginning and end of the bunting.
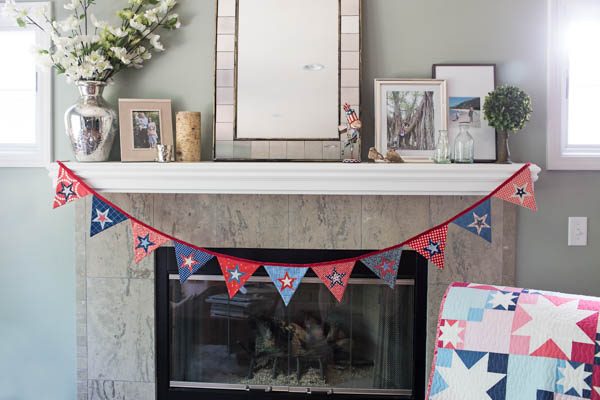
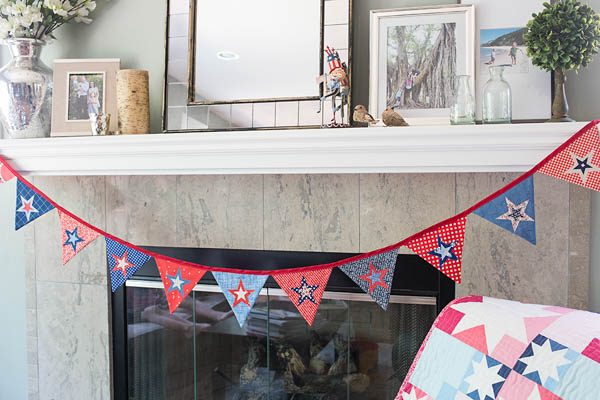
Hang your Star Bunting and enjoy!
-
Rachel's Staff Pick
Rachel's Staff Pick is this Blush by Clothworks fabric collection! She recommends this fabric because it has gorgeous watercolor effects,...
Read More -
Free-Motion Quilted Placemats
The tutorial will take the quilting design from a sketch on paper to four unique placemats that will help practice...
Read More -
How to Make a Fabric Mini Basket
We can never have enough storage and when it comes Christmas season, a handmade storage basket makes the best gift....
Read More -
Victor Location Press Release
(FROM GLOBE NEWSWIRE) Siblings Scott Perry and Alyssa McDonnell, hadn’t planned on quitting their careers as an engineer and a...
Read More -
December Sew-Along Event
Join us in-store or virtually for our Holiday Sew-Along event! This event is included in your 22/23 Club membership. Make a...
Read More -
Our Victor Store is OPEN!!
IT'S FINALLY HERE!! Our Victor store is OPEN!! We thank you for your patience while we have gotten our third store...
Read More -
International Quilt Market
After three very long years, the International Quilt Market has finally returned! Alyssa, Sheila and myself (Scott) just returned from...
Read More -
Victor Store Updates from Scott & Alyssa
We are SEW EXCITED to see our sewing family growing! We are progressing with getting our new Victor store ready. We...
Read More -
Carve your Pumpkins with us!
Getting your pumpkins ready for Halloween? Carve a pumpkin with this downloadable Aurora Sewing Center stencil! DOWNLOAD STENCIL Just pick which size...
Read More -
Fun Glow-in-the-Dark Projects with Wonderfil Thread
Want to do something that really stands out this Halloween? This easy project uses machine embroidery and glow in the...
Read More -
Cleaning & Oiling Your Machine
Remove hardware Before you start your machine cleaning, remove the needle, presser foot, stitch plate, and bobbin case from your...
Read More -
We Are Expanding to Victor, NY!
Aurora Sewing Center, which has two locations in the Buffalo, New York area, is sew excited to announce they are expanding their...
Read More -
Wonder Clips
Our staff member Laura LOVES using Wonder Clips when she is quilting! They hold quilt layers together better than just...
Read More -
Customer Appreciation Days
Join us for Customer Appreciation Days!! Deals will be running in-store Thursday, Sept. 1st - Saturday, Sept. 3rd. This event is...
Read More -
Why Do I Need Firmware Upgrades for My Sewing Machine?
Firmware is a software program or an updated set of instructions used in electronic-based sewing machines that are provided by our...
Read More -
Sewing & Quilting Health Benefits
Quilting is not only a fun and creative hobby, but it also has many health benefits that can improve your...
Read More -
Steps to Sew a Faux Button Placket
Step 1. Measuring Your Bodice To start you will need your front bodice piece cut out and laid flat. You...
Read More -
BERNINA District D Dealer of the Year
We have amazing news... DRUMROLL PLEASE! Aurora Sewing Center has been awarded the BERNINA District D Dealer of the Year!...
Read More -
How to Make & Embroider a Rope Bowl
Instructions to Sew a Rope Bowl Step 1. Start fresh I like to clip a clean end to the start...
Read More -
Is Your Sewing Machine Making Bird’s Nests?
Are you getting those annoying tangles or “birds nests” of thread on the bottom-side of your fabric? These thread tangles...
Read More -
Make a Sewing Machine Cover
Instructions for a sewing machine cover with ties! Perfect for keeping your sewing machine clean while it's not in use....
Read More
« Newer articles 1 2 3 Older articles »

